Wednesday, November 26, 2014

Christmas Gifts to Make


No Sew Wrap

This is one of the easiest things you can make.  Absolutely NO SEWING!!!  ZERO!  All you need are some pins, scissors, and a tape measure.  Here's how to make it:
Use 1 1/2 yards of fleece.  Fold it in half lengthwise.  Place a pin halfway up the length on the folded edge.  Cut along the fold up to the pin.  On both of the short ends, cut 2 inch long fringes. And that's it!  

Quick and Easy Cell Phone Pocket Scarf


This one takes just a little bit of sewing that can easily be done by hand.  Cut a 36 by 8 inch piece of fleece.  Cut 1 1/2 inch fringes on the short ends of the fleece. Cut 6 inch squares of fleece in a coordinating fabric.  Stitch them on three sides leaving the side that is away from the fringes open.  No need to fold a hem on the pockets, fleece does not fray.   

Fleece Mitten Ornaments


This one is a little more difficult.  I used a pattern.  I printed out a mitten shape on my printer a little larger than what I wanted my ornaments to be then I cut 4 of the shapes, stitched them on all but the cuff sides and stuffed them.  Then I hand stitched the cuff sides with the ribbon inside that seam.  Then I tied the ribbons together to form the hanger. 


Wednesday, November 19, 2014

Scentsational!


This has to be the best tip I could ever give you!  This is a two-fer!  It's a way to get those pesky inserts out of your magazines and mailings and put them to good use.

I hate the extra thick pages in magazine that have perfume samples on them.  They make the magazine open oddly and make it difficult to read.   You can also find these inserts in mailings from department store, even in your bills at times!  

Well, I found a way to put them to good use!  I tear them out, tear off the strips with the scent on them, open them up, and put them in my drawers!!!  That way, I have some very expensive perfumes scenting my clothing!!!  

It's quite delightful to open your drawers and smell Chanel!  It's heaven to put on your pajamas and have that scent as you sleep!!!  If you have some sweaters that you are just taking out for the first time of the season, this is a way to make them fresh.  

As the strips in your drawers lose their scent, there is always a new batch arriving in your mailbox!

Wednesday, November 12, 2014

Mesh Turkey

Mesh Turkey


I am on a mission to use up many of the left over bits and pieces that I have laying around my house before I go out and buy things.  I mean, my craft room is getting over run with scraps and pieces of things from prior projects.

I really wanted something turkey related for my front door.  I knew I had some mesh left over from some Halloween wreaths I had made.  I also knew I had a few other things, but I wasn't quite sure what.  

Here is what I found:


I decided that the cornucopia would make a great body for a turkey, the sparkly thing could be the wattle, I was going to figure out how to use one of the gourds for the head, the mesh for the feathers, okay I am getting a good concept going.  It was all trial and error from there. 


I cut off the top of one gourd and hallowed it out to fit on the top of the cornucopia.  I used a sharpie to draw on the eyes and beak.  I glued on the wattle and covered up the messiness with a piece of the ribbon.  I had to stuff the cornucopia with some mesh and a few of the gourds to balance the weight.  


I wired the mesh pieces through the wicker and I also wrapped a piece of twine around the cornucopia and wired that through the wicker to make a loop to hang it.  


I have no idea where these sparkly berries came from, but they are the perfect wattle!  


I made feet out of pipe cleaners and hot glued those to the bottom.

All in all, I think it's a unique and pretty cool addition to our Thanksgiving decor!  It's a bit wide for the space between the front door and storm door, but it's fairly malleable so it just kind squishes to fit.  


Friday, November 7, 2014

Wrap It Up!


It's that time of year again!  The time when you need to wrap a million gifts all at once!  Or do you?  

I have a trick to get it all done once and for all.  Then you can just reuse the boxes year after year!!!  

So here we go!!!

First, you need to collect a lot of boxes!!!


As you can see, I save anything.  Shoe boxes, shirt boxes, you name it.  Because you just don't know what you will be buying for gifts and you will most likely use every single box size and shape.  Also, they will be wrapped, so what they look like isn't important.

The next step is to collect lots of gift wrap, I get mine from dollar stores.

Then it's time to wrap.  The important thing here is to use Scotch Magic tape!  If you use inexpensive tape, it's going to be a disaster!!!  Be sure to get Scotch Magic tape.

For boxes where the bottoms are white or have no logos on them, you can just wrap the lid.  If the bottom has a logo or something else undesirable, wrap the bottom too.  Either way, this is the way both pieces should be wrapped:


You fold and wrap everything to the inside of the lid or bottom and use a lot of Scotch Magic tape to hold it all in place.  


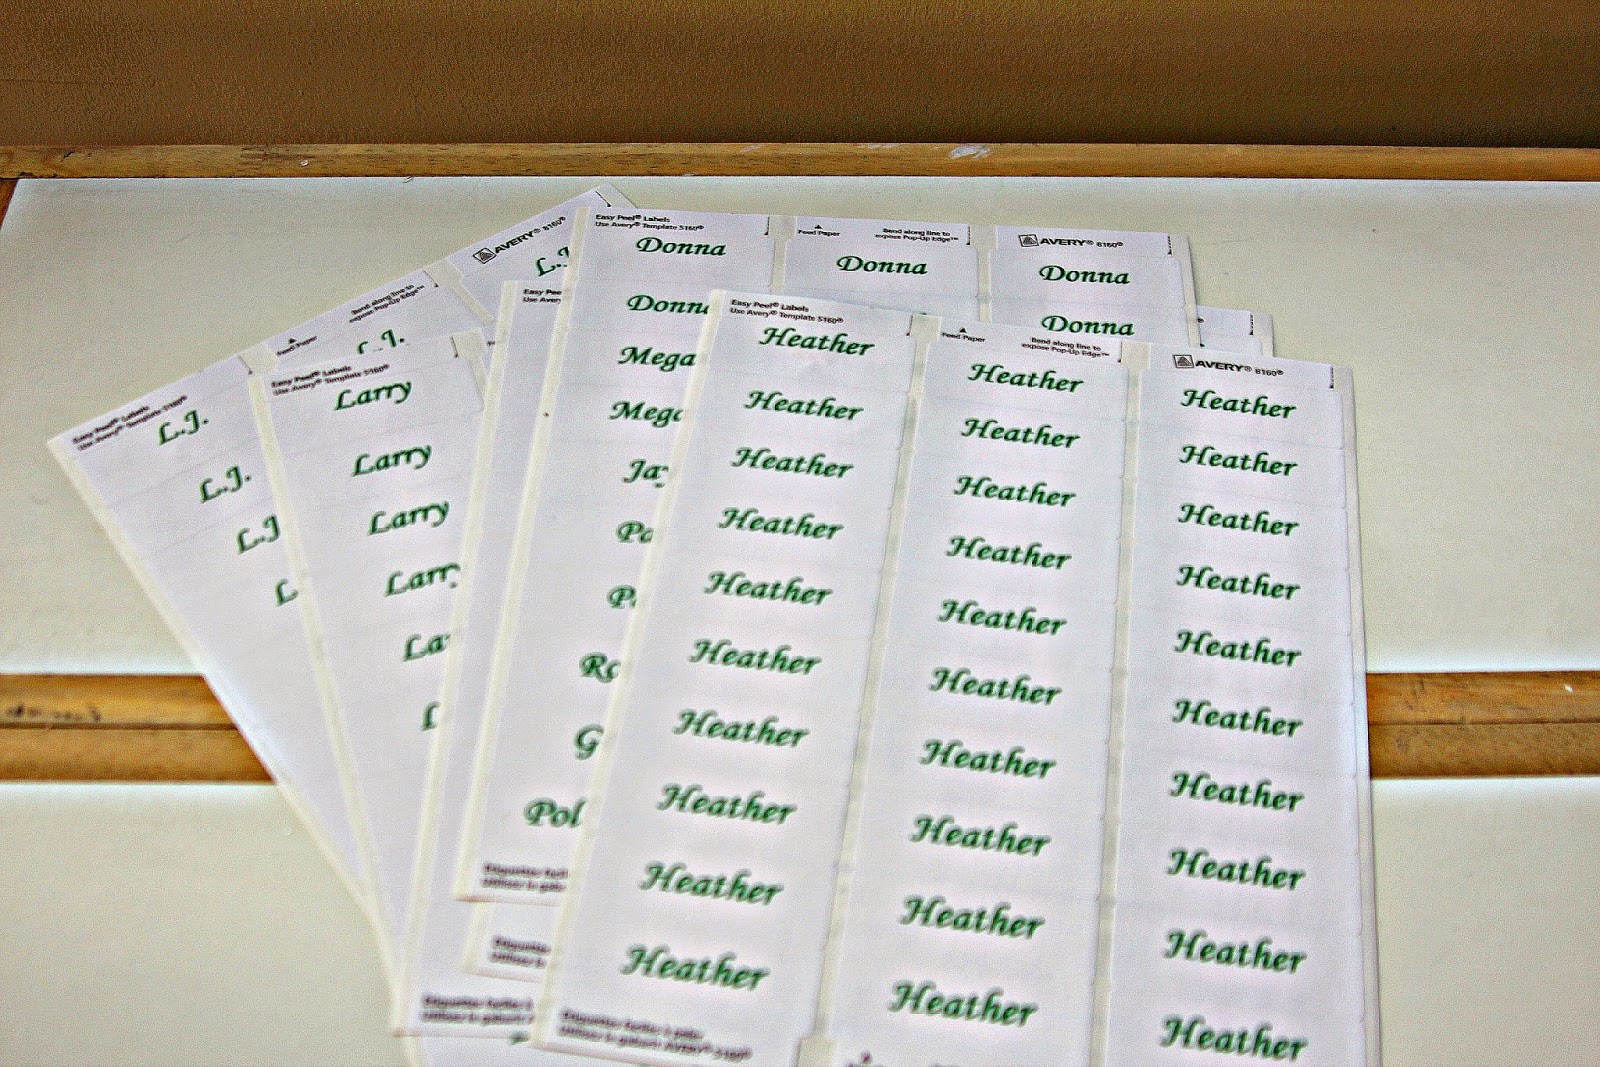
Next, print out some removable labels with the names of all your family members.  I do a sheet for each person.  


That way, when you reuse the boxes next year, you can change the labels.  


After that I just add my signature tulle bow and I am done.  The following year it's just a matter of grabbing a box, making sure there is tissue paper in it, putting a label on it, and putting a new bow on it.  

Time to get wrapping!!!  


Tuesday, October 28, 2014

Put Some South In Your Mouth!


Southern Fried Chicken

Frying chicken always seemed really difficult and intimidating to me until I saw it done by a true Southern woman.  Then it just looked like the easiest thing in the world!  So I decided to try my Yankee hand at it.  And what do you know?  It was delicious!!!  The key was using some pre-mixed Southern chicken coating.  Here is how I did it:

Ingredients:
2 lbs. Boneless skinless Chicken Breasts
½ Cup All Purpose Flour
1 teaspoon Sea Salt
1 teaspoon Cracked Black Pepper
¼ Cup Milk
2 tablespoons Sour Cream
¾ Cup Louisiana Fish Fry Products Seasoned Chicken Fry
2 Cups Vegetable Oil
1 Cup Milk
¼ Cup Ranch Salad Dressing
2 tablespoons Onion & Chive Cream Cheese
1 tablespoon Corn Starch
Directions:
Pour oil in to a large skillet and begin to heat over medium-high heat. 
Slice chicken into fingers or strips.
Put flour, salt and pepper in a small mixing bowl and whisk to mix.
Put ¼ Cup of Milk and sour cream in a small mixing bowl and whisk until thoroughly mixed.
Put seasoned chicken coating in a third small mixing bowl. 
Dip each piece of chicken first into flour, then milk mixture, and lastly the seasoned chicken coating.
To test to see if the oil is hot enough to cook the chicken, insert the handle of a wood spoon in the center of the pan.  If bubbles form around the handle, the oil is hot.
Place chicken in the oil and cook turning frequently until golden brown, approximately 15 to 20 minutes. 
Remove chicken from skillet.  Drain chicken on a stack of 3 or 4 paper towels.
To make the sauce, add 1 cup of milk to a sauce pan and whisk in 2 tablespoons of Onion & Chive cream cheese and heat over medium high heat.
Whisk in ¼ cup Ranch dressing.  Continue to heat and whisk in 1 tablespoon of Corn Starch.
Whisk frequently and allow sauce to thicken.
This makes a lot of sauce, but it is so good you will want to put it on everything!!!

Serves 4.

I hope you try this recipe!  Let me know if you do and how it comes out.

Monday, October 20, 2014

Halloween Mantle Ideas, Tips and Tricks


This is my fall/autumn/Halloween mantle.  I leave the garland up from the end of summer through Thanksgiving.  Even the faux gourds in the glass containers stay until the Christmas decorations go up.  It saves a lot of juggling and it goes with all of the different things I put on there for fall, Halloween and Thanksgiving.


To "fill" the vase with Candy Corn, I learned a new trick this year.  I think it was on "The Chew", but it could have been on Pinterest.  You invert a plastic container from Chinese food (a quart size or so) in the middle of it and pour the Candy Corn down over it.  That way you don't need a dozen bags of Candy Corn to fill the vase.  It also gives a nice solid base for my battery operated tea lights.  I used three here.

I have 3 Halloween themed nutcrackers (in need of another one to balance out the mantle) that I have collected over the years.  So keep your eyes open after Halloween for some bargains on whatever strikes your fancy!  Kohl's has some cute stuff.


These shimmery metallic gourds are from Michael's and it took one bag for each of the containers.  They were a bit pricey, but you can usually get a coupon online and print it to take with you.

Sunday, October 12, 2014

Bewitching


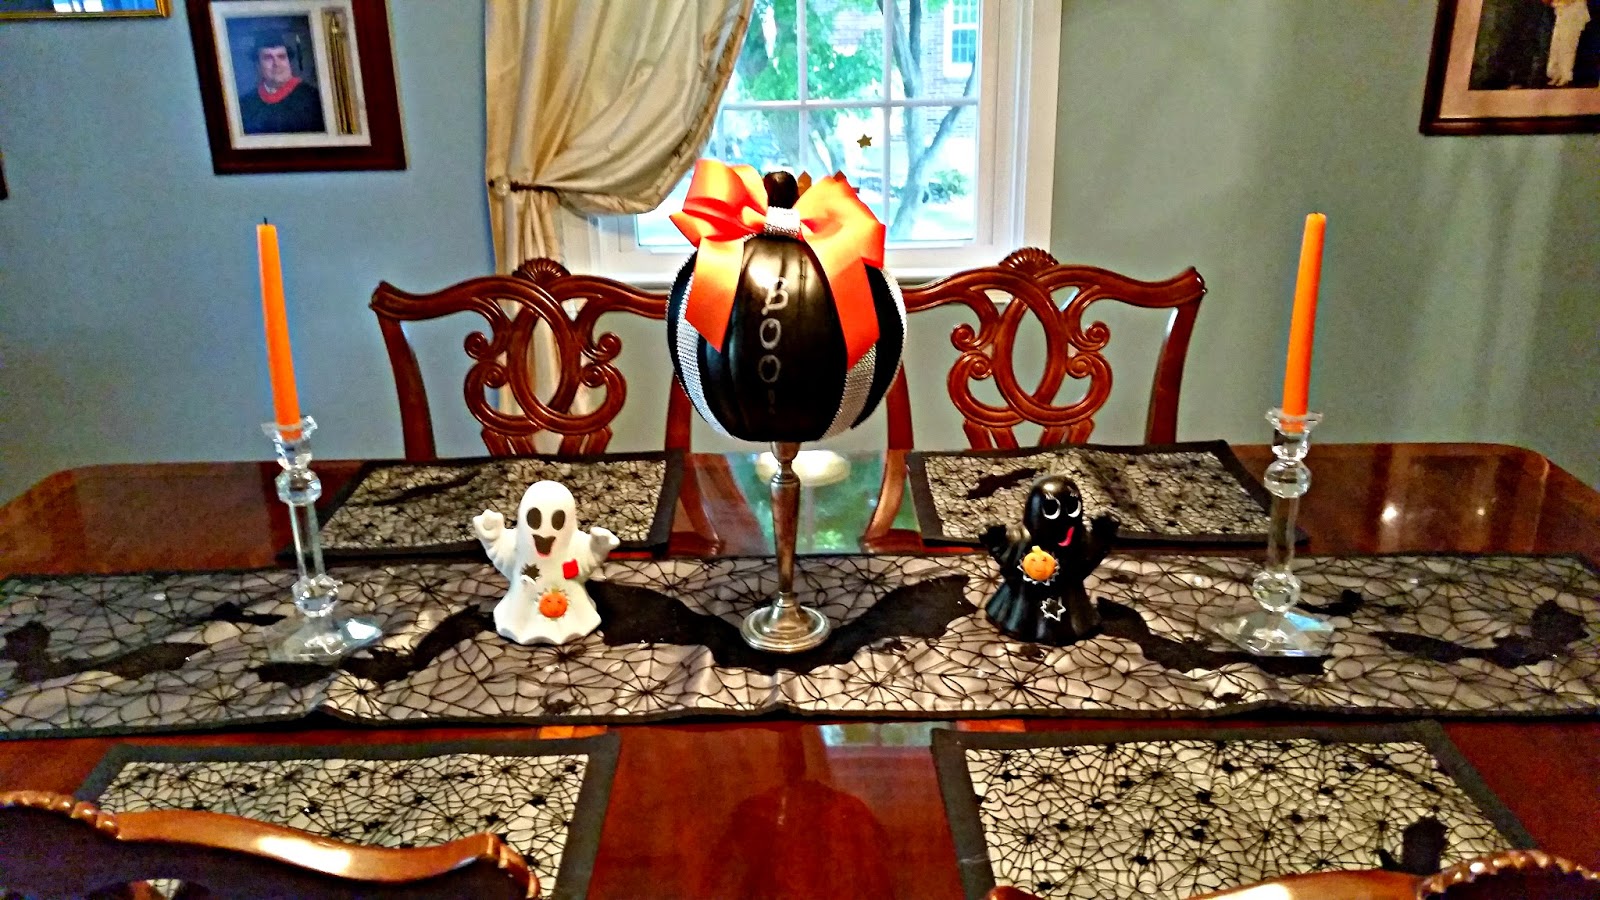
Don't think "elegant" and "Halloween" can go together?   Well I am here to tell you they can!!!  This how I combine them in my formal dining room.


I put the "Blinged Out Boo" pumpkin I made a while back on top of one of my old silver candlesticks. The table linens are from Kohl's a few years ago, but they always have nice things available.  Simple crystal candlesticks with orange candles are an easy compliment to this and my ghosts that came from a long forgotten craft fair. 


This gorgeous witches' hat came from Good Will!  It is brand new with the tags still on it (or they were).   Hung on the side of the chair it adds a little something.


I just love how this all came together!


On my server I have several Lenox pieces that I have gotten as gifts from my sister for my birthday over the years.  My birthday is the 27th.  

See how elegant Halloween can be?  And we haven't even left the dining room!